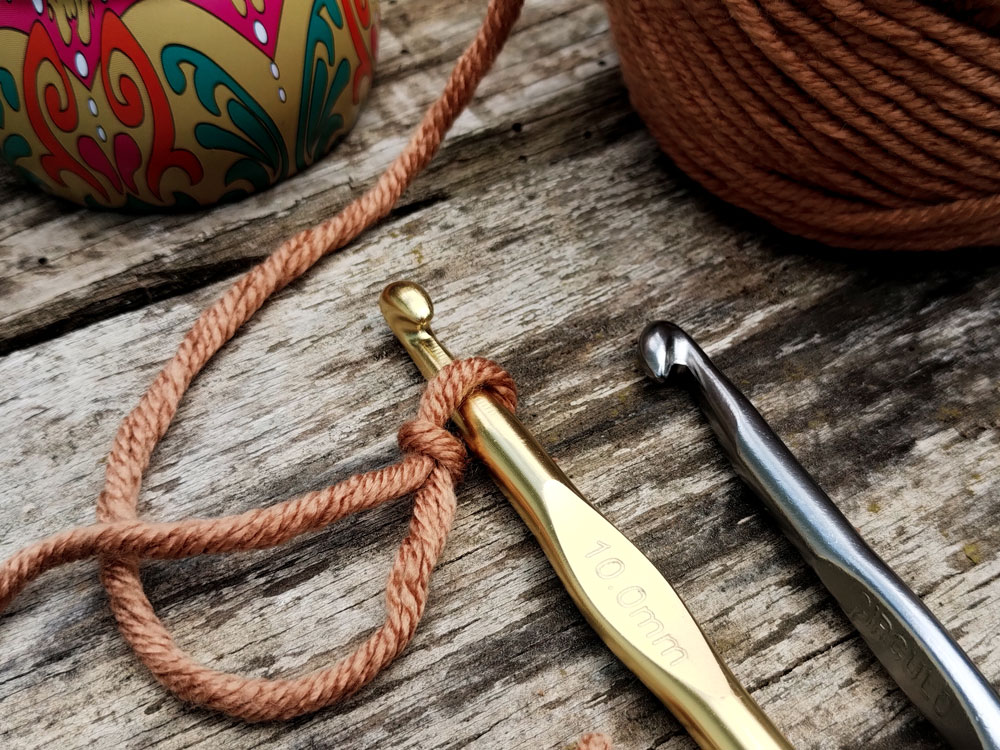
Almost every crochet project begins with one simple step: the slip knot. Whether you’re just starting out or need a quick refresher, this guide will walk you through the process. Learning how to tie a slip knot is an essential skill that sets the foundation for everything from scarves to intricate sweaters.
In this post, I’ll show you three easy ways to tie a slip knot, so you can pick the method that feels most natural to you. Grab your yarn and a crochet hook, and let’s get started!
This post may contain affiliate links. This means that if you make a purchase, I will receive a small commission at no extra cost to you. All opinions are my own. You can read my Privacy Policy here.

You will find in this post…
What Is a Slip Knot?

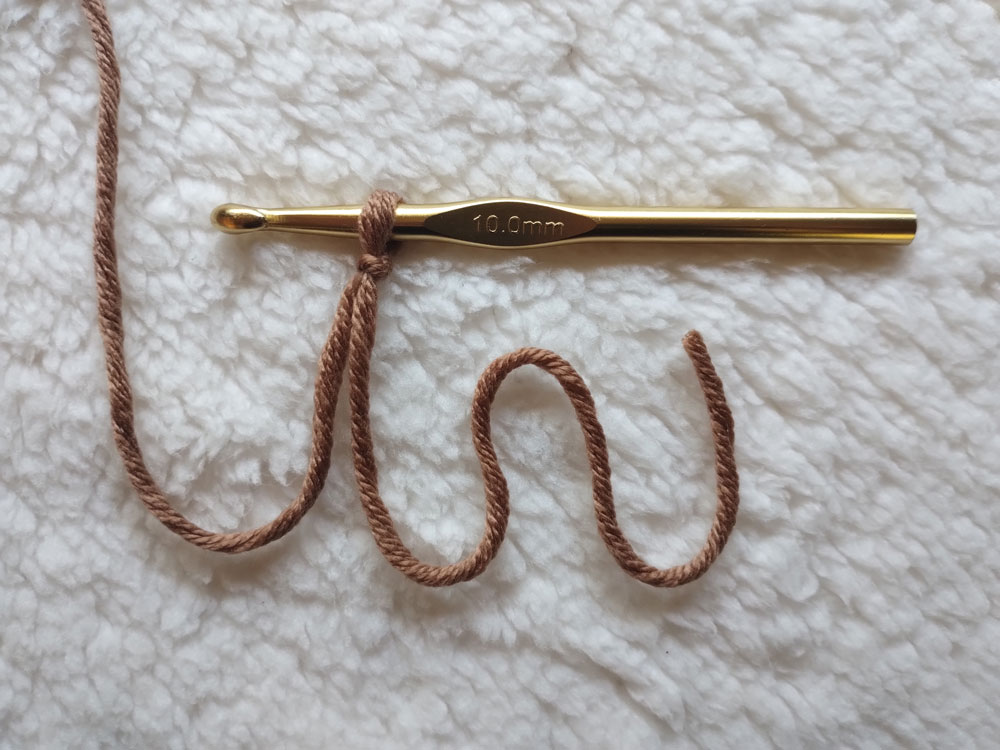
A slip knot is a basic knot that can be easily tightened or loosened. It slips along the yarn around which it is made, and it’s used to secure the yarn to the crochet hook, providing the adjustable loop needed to begin your stitches.
NOTE: There is more than one way to tie a slip knot. For this post, I’ve chosen the three methods I find the easiest. But feel free to try other ways or even create your own unique way.
How to Tie a Slip Knot: step-by-step
Without further ado, let’s dive into the three easy methods I’ve selected for you to try out, complete with written instructions and illustrated photos. And for those who find it easier to learn by watching, there’s also a short video tutorial waiting for you in the next section!
1. Wrapping the Yarn Around Your Finger
This is my favorite method and the one I use most of the time. I also believe it to be the easiest of all. It consists of wrapping the yarn over your index finger twice and pulling the back loop over the front loop twice to create the knot.

Step 1: Grab the tail end of your yarn. Looking at the palm of your hand, pass it behind your index finger.

Step 2: From back to front, wrap the yarn around your index finger twice.

Step 3: Hold both strands of yarn with your thumb and middle finger.

Step 4: Pull the back loop on your finger over the front loop.

Step 5: Pull the back loop over the front loop again and all the way off your finger.

Step 6: Hold both strands of yarn and pull your index finger up to close the knot.

Step 7: Place your hook into the loop.

Step 8: Pull the working end of the yarn (the yarn that comes from the skein) to tighten your knot.
2. Flipping the Loop
This method is very common. Although I don’t find it as easy as the previous one, it is still simple to learn. You’ll create a loop, flip this loop over, and pull the yarn through the loop to form the knot.

Step 1: Grab the tail end of your yarn and place it over a flat surface.

Step 2: Turn the yarn inward, creating a loop.

Step 3: Flip this loop inward over the yarn.

Step 4: Use your hook to pull the yarn through the loop.

Step 5: Hold both sides of the yarn and pull the hook outward to close the knot.

Step 6: Pull the working end of the yarn (the yarn that comes from the skein) to tighten your knot.
3. The Bird Beak Method
This method is also pretty easy. In this method, you will wrap the yarn around your thumb and index finger, creating a loop through which you’ll pull the yarn to create your slip knot. (Note: “The Bird Beak Method” is not an official name; it’s just what I like to call it.)

Step 1: Put your thumb and index finger together, creating a bird beak shape.

Step 2: Place the yarn over this “beak.”

Step 3: Wrap the yarn to form an X.

Step 4: Take the working end of the yarn (the yarn that comes from the skein).

Step 5: Grab the yarn with the “beak” and don’t let go.

Step 6: Pull out both ends of the yarn to create the knot.

Step 7: Place your hook into the loop.

Step 8: Pull the working end of the yarn to tighten your knot.
How to Tie a Slip Knot: Video Tutorial
If you prefer learning visually, I’ve got you covered! Check out the short video tutorial below demonstrating all three methods. You can pause, rewind, or rewatch as often as needed to follow along with your yarn and hook.
Useful Tips for Beginners
If your knot is too tight, it’ll be difficult to work with the yarn and pull it through the loop to form your stitches. Always ensure the loop can slide easily on your hook. To loosen it, gently pull the loop outward while holding the tail end.
If your knot is too loose, it may slip off the hook or create a loose chain that will ruin the look of your work. Tighten it slightly by pulling the working end of the yarn until the loop fits snugly on the hook.
Always keep the loop of your slip knot slightly loose. This will make your first stitch easier to work.
Don’t be too stingy with your tail end. You’ll need enough yarn to hide it between stitches when your work is finished. If your tail is too short, it will make this task much harder, and your finishing will be more likely to come undone. I usually leave about 8 inches (20 cm).
Conclusion
Congratulations on taking the first step in your crochet journey! Whether you’ve mastered the slip knot or are still practicing, remember that every crochet masterpiece begins with this simple knot. With patience and practice, you’ll gain confidence and unlock endless creative possibilities. Keep going—you’ve got this!
Share this post
Common Questions About How to Tie a Slip Knot for Crochet (FAQ)
A slip knot is the first step in most crochet projects. It secures the yarn to your hook and creates an adjustable loop for your first stitch.
Yes! Use any yarn you have on hand, but thicker yarns or lighter colors can make it easier to see what you’re doing as you practice.
Your loop may be too loose. Adjust it by gently pulling the tail or working end of the yarn until the loop fits snugly on the hook.
Leave about 8 inches (20 cm) of tail. This gives you enough length to weave it into your work later for a neat finish.
Some techniques skip the slip knot, but it’s a helpful starting point for beginners. It ensures your yarn stays secure as you begin.
No! Just pick the method you find easiest or most comfortable. You can always try the others later if you want.
You may be pulling the loop too hard when tightening the knot. Loosen it slightly so it slides smoothly on your hook.
Gently pull the loop outward while holding the tail end of the yarn steady. Adjust until it’s easy to slide on your hook.